
Step-by-Step Guide: Resetting Sensor Alignment on Automatic Erectors
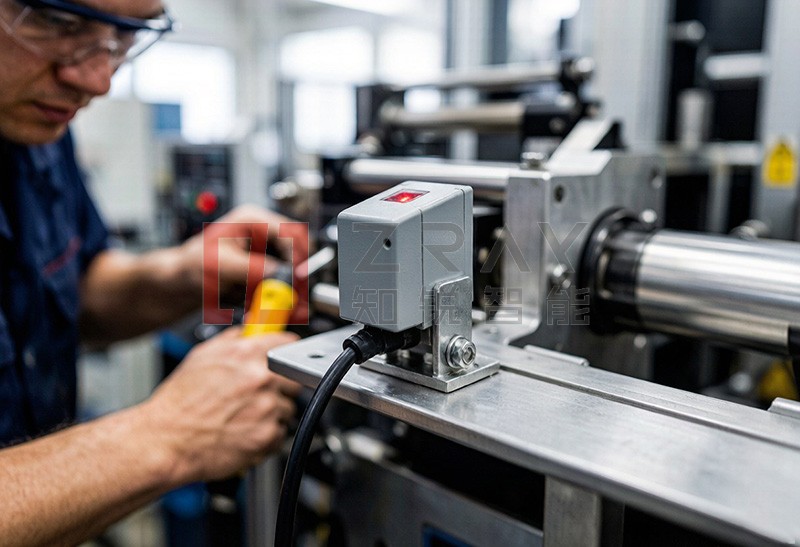
Sensors tell an automatic carton erector where the blank is, whether the folds happened, and when to fire the glue. When a sensor drifts out of alignment — after a size change, a bump, or routine vibration — the machine misbehaves in confusing ways: phantom jams, missed glue, or boxes that form a beat too late. Resetting sensor alignment is a job every maintenance tech should know cold. Here is the step-by-step method.
Before You Start
Power the machine down and follow lockout/tagout. Have the manual’s sensor diagram, a clean cloth, and the adjustment tool ready. Work on one sensor at a time so you can verify each result in isolation.
Step 1: Identify the Sensor and Its Role
Determine whether the sensor is a photoelectric, proximity, or limit switch, and what it detects: blank presence, fold position, or flap alignment. Mark its current position before moving anything.
Step 2: Clean the Sensing Surface
Wipe the lens or sensing face with a clean, dry cloth. Paper dust and glue haze are a common cause of “misalignment” that is actually just a dirty sensor.
Step 3: Position the Target Correctly
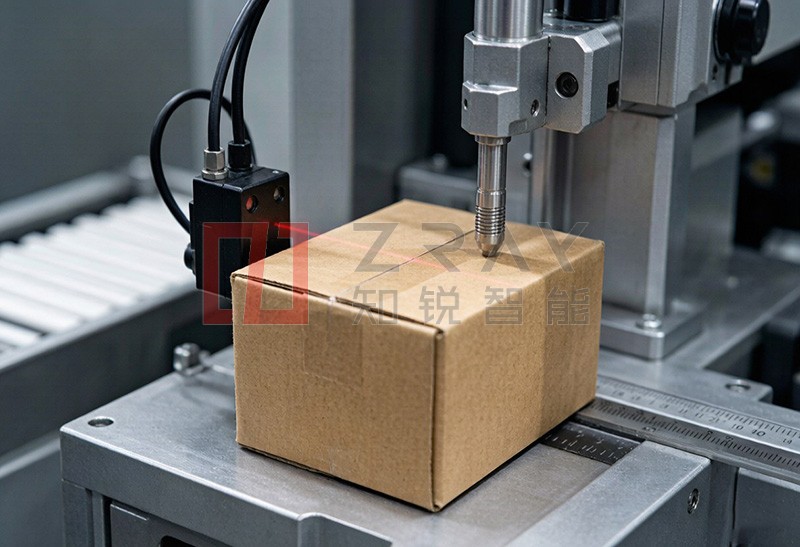
Place a known-good blank in the exact position the machine expects at that station. The target must represent the real production condition — correct size, correct thickness.
Step 4: Set the Sensing Distance
Adjust the sensor’s distance and angle so it reliably detects the target at the correct point in the cycle, with margin on both sides. For photoelectric sensors, confirm the beam is centered on the target.
Step 5: Test the Switching Point
Slowly move the target in and out of range and watch the indicator LED. The sensor should switch cleanly, without flicker, at the intended position — not at the edge of its range.
Step 6: Re-verify Under Cycle
Run the machine at slow speed with a few blanks and confirm the sensor triggers at the right moment every time. Watch for false triggers or missed detections before returning to full speed.

Common Pitfalls
- Adjusting the wrong sensor — trace the wiring before touching anything.
- Setting at the edge of range — always leave margin so vibration does not cause dropouts.
- Skipping the slow-speed test — sensors that pass static checks still fail under dynamic load.
The Bottom Line
Sensor alignment is a precision task, not a guessing game. Follow the steps, verify under cycle, and the “random” faults that plagued the erector will disappear — because most of them were never random at all.
Want To Know More About Our Upgraded Machines?
Send your carton specifications and output demand, our engineer will provide free technical scheme & quotation
Latest Products
Subscribe To Get Latest News & Technical Guides
Leave your business email to receive free industry articles and new product updates